
This article comes from my Revit Basics Blog which I have decided to shut down.
To build a logo for a title block, create a new annotation family. Select the application browser, then New and finally Annotation Family.
To build a logo for a title block, create a new annotation family. Select the application browser, then New and finally Annotation Family.

Revit offers many templates for annotation families. Revit template families have a RFT file extension. For this example select "Generic Annotation.rft". This template contains two reference planes and a note to the users to specify the type of family. The intersection of the reference planes is the origin for the family. Select the "Category and Parameters" button near the end of the ribbon to change the category. For this example use "Generic Annotation".
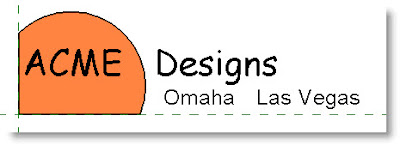
I used text and a filled region to create this logo.
 Now I am going to add a parameter to the text "Omaha" so I can turn it on and off based off which office this logo is attached to. First select the word Omaha. In it's instance properties to the right of the word Visible is a grey box, click it. Now select the Add Parameter button. Name the parameter "Omaha", make it a type parameter and Group it under "Graphics". See below.
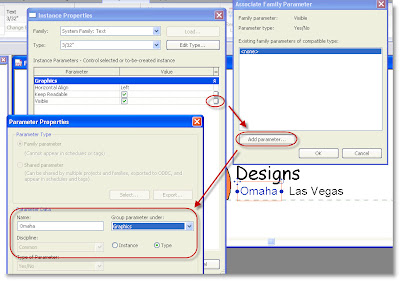 Create a Las Vegas Parameter the same way as the Omaha parameter and place the Las Vegas text on top of the Omaha text.
Now let's create two types under this family. One for Omaha and one for Las Vegas. The type will control visibility of the text so only the appropriate city name will appear in each type. Create types by selecting the Family Types button near the end of the ribbon.
On the right-hand side of the Family Types dialog box select New under the family types header. When prompted for a name, type "Omaha". With the Family name set to Omaha, check the Omaha visibility box.
 Create and configure a Las Vegas type the same way and load this logo into a project.
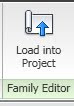
No comments:
Post a Comment