
These days more and more Revit MEP content is available but, the families you find either out of the box or on the Internet will probably not have every parameters that you need. This example will demonstrate how to add a parameter to a family and then how to create a custom tag for the added parameter.
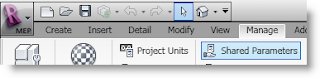
There is a file called the Shared Parameter list. This file is used to store parameters that are scheduled. To access the Shared Parameter list select it from the Manage tab of the ribbon.
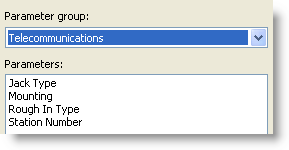
The parameters in this file can be grouped by discipline or other desired heading. I created a
telecommunications group and added four parameters under it. Below I will show how to add these parameters to the default data outlet in Revit MEP 2010.
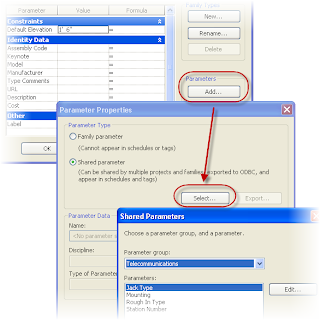
Open the default data outlet in Revit MEP 2010. To add the needed parameters from the shared parameter file, click the Types tool at the end of the Manage tab of the ribbon, then select the Add button shown below to open the Parameters Properties dialog. In this dialog change the parameter type to Shared parameter and click the Select button. Now you can select the group and parameters to add to the family.
To create a new tag select New then Annotation Familiy from the Application browser then pick the Data Device Tag template. Next select the Label tool and click at the intersection of the two reference planes.

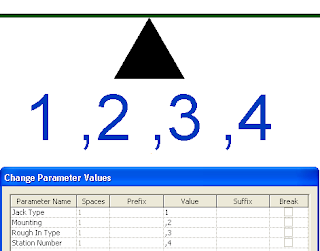
This will bring up the Edit Label dialog. Use the Add Parameter button shown below to add the
four parameters created from the shared parameters list one at a time. Load these two files into a project to test them out. Since I do not use all four parameters every time. I add a comma before each of the parameters after the first one for a separator (see below).
Easy as pie and its schedulable. Not sure if schedulable is a word, but you get it.
No comments:
Post a Comment